The Basics
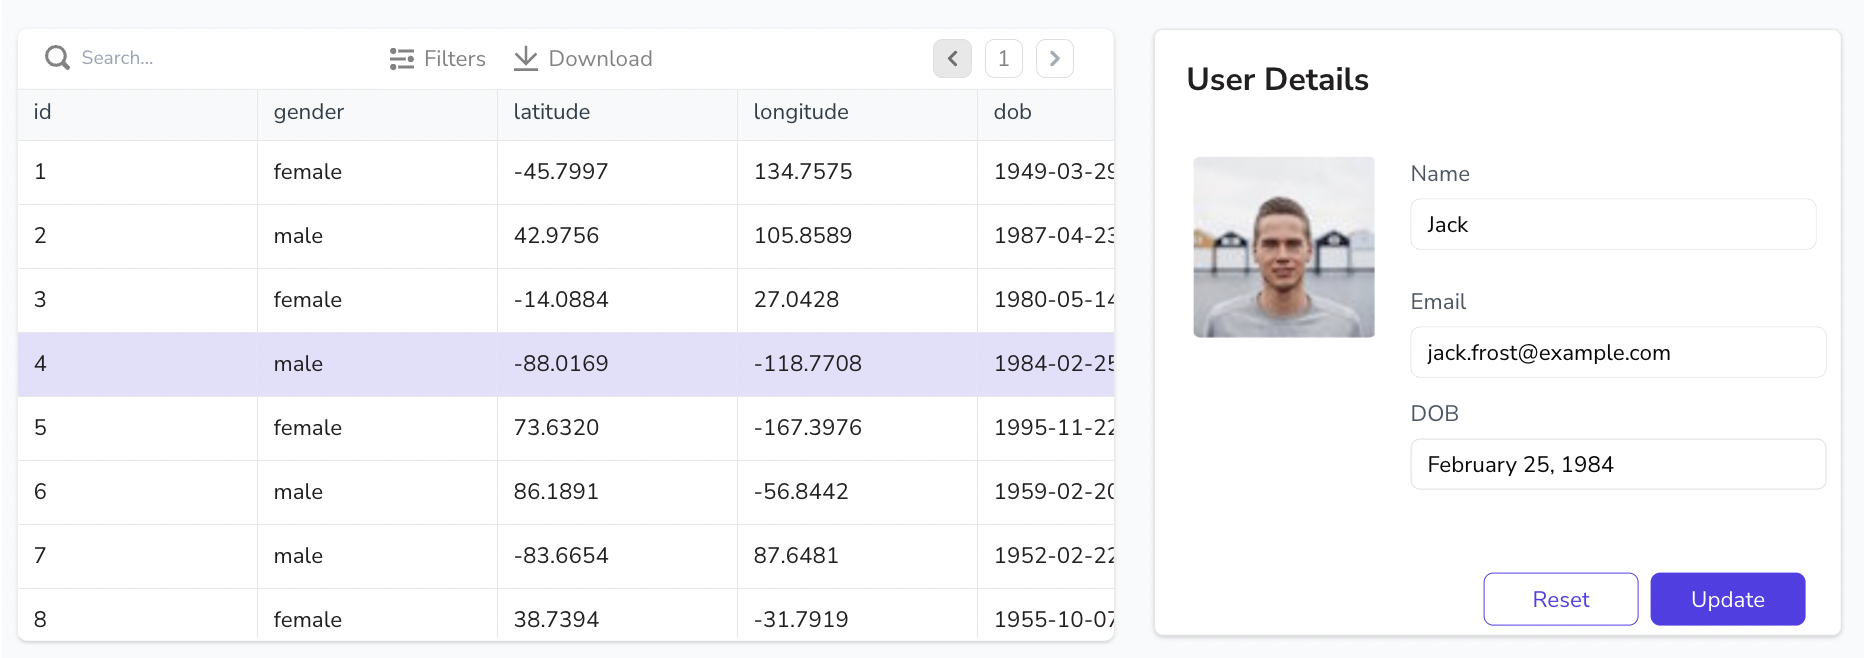
This tutorial covers the basic concepts of Appsmith and takes you through a series of steps to build a simple Database GUI application.
You'll learn to:
- Create a new application
- Connect to a database and fetch data
- Display the data in a Table widget
- Build form to view details
- Edit and submit the details
Here's a screenshot of the final result:

Let's get started!
Prerequisites
- An Appsmith account. If you don’t have one, sign up on Appsmith cloud.
Set up
When you create a new account, Appsmith adds a workspace with an application titled My first application on the homepage by default. You need to create a new empty application for this tutorial. If you are inside an application and need to go to the homepage, click on the Appsmith logo at the top left of the screen to go to the homepage.
On the homepage, click the + New button to the right of the screen under the default workspace. You'll land on a new application in the Edit mode.

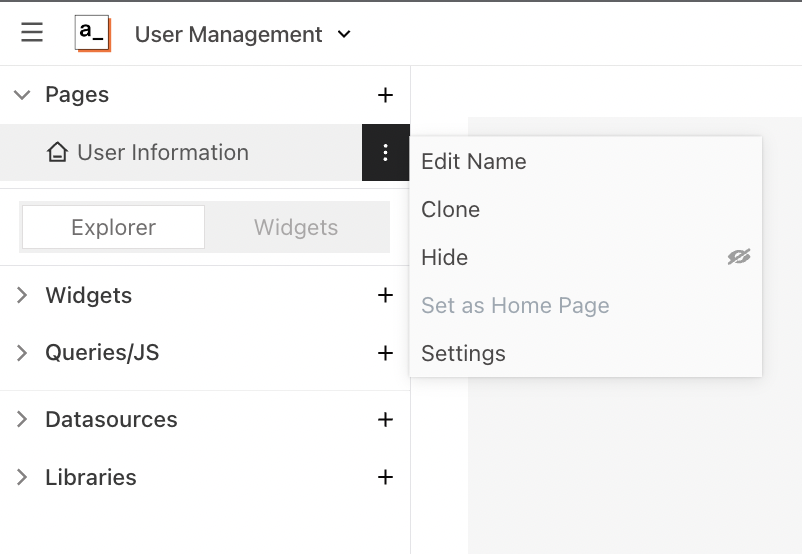
Click the ⌵ icon on the top left next to the default application name. Select the Edit Name option. Rename the app to
User Management.On the Entity Explorer to the left of the screen, you'll see that Page 1 is the default page on the application. Hover over the page name and click the ︙ icon.
Select the Edit Name option. Rename the page to
User Information.

